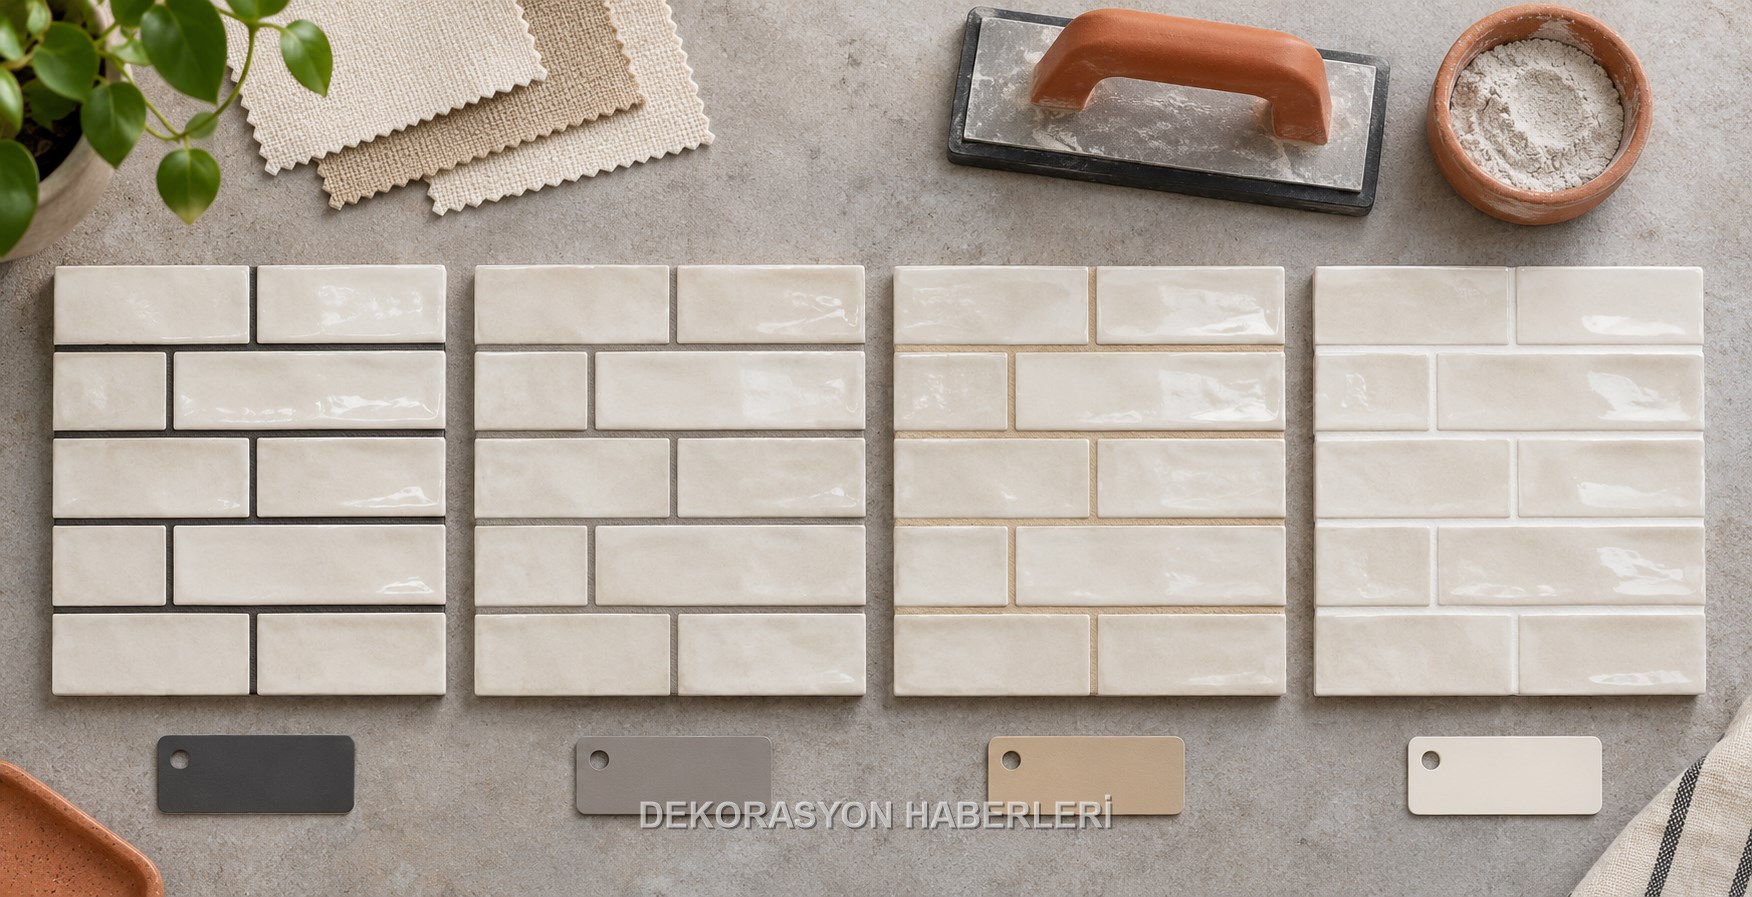
This story turns a decorating idea into a practical approach for real homes instead of simply presenting a look.
Define the need clearly
Choosing rollers and brushes for wood painting cannot be resolved by appearance alone. Begin by separate flat faces, profiles, edges and details into distinct tasks; a product or dimension chosen before the existing condition is understood can create a second problem during installation.
This guide sets out to match tools to paint type and surface geometry to reduce marks on doors, mouldings, corners and broad flat areas. Considering user habits, surface condition and long-term maintenance together helps the decision work beyond its first day.
Prepare photographs, a simple sketch and a measurement list before buying anything. Put fixed conditions such as doors, windows, services, moisture, daylight and circulation on the same page so that the order of decisions becomes clear.
Measurement and sample plan
During measurement, compare roller texture and brush levelling on one sample after drying. Record edges, junctions, opening clearances and access points separately rather than relying on one overall dimension. This prevents a solution that fits on paper from narrowing daily circulation.
Make a small sample or full-size cardboard mock-up before the full installation. Review it in morning and evening light and, where possible, through several days of use; colour, texture, movement and cleaning behaviour become clear only in context.
Check every critical dimension twice and mark it with removable tape. Where electricity, water, gas, structural fixing or waterproofing is involved, confirm final dimensions with an appropriately qualified professional.
“A good result depends on measurement, a safe sequence and maintainable care as much as the chosen product.”
Materials and tools
The core material set is fine-foam or microfibre mini roller, quality synthetic brush and paint filter. Compare products through surface compatibility, curing, cleanability, repair and technical data as well as colour and price.
Do not combine primers, adhesives, paints, fillers or protective coats with conflicting manufacturer instructions. A sample must follow the same tools, layer order and drying times intended for the full installation.
Read indoor-use declarations, emissions information, working temperatures and care instructions before purchase. Calculate waste and touch-up allowance so that enough material can be reserved from one production batch.
A safe work sequence
Divide the work into protection, cleaning, preparation, sampling, main application and final inspection. Completing the stated drying and curing time between coats or assembly stages has a direct effect on durability.
Compare roller texture and brush levelling on one sample after drying provides a safe and economical rehearsal. During the test, record circulation, movement, odour, surface feel and cleaning access rather than judging only the photograph.
Use suitable personal protection for cutting, sanding, chemicals, power tools or heavy loads. Structural fixing, electricity, gas and waterproofing should be handled or checked by qualified professionals.
The most common mistake
The most common mistake is trying to hide marks with a heavy coat or excessive tool pressure. This usually grows from skipped preparation or measurement and can make a small defect far more expensive to correct.
When a fault appears, pause the work, document the cause and test the repair on a small area. Removing sound work unnecessarily can be as costly as leaving a weak layer in place.
Use separate checklist items for measurement, preparation, product compatibility, safety and maintenance. Do not begin the main application until each item is supported by a real observation or technical instruction.
Care and long-term performance
After completion, use intercoat sanding, clean storage and timely tool replacement. Avoid aggressive cleaners, excess water or heavy use during the early period so that the system can reach its intended performance.
Keep the product name, colour code, batch information and installation date. Label a small touch-up quantity and sample piece; this makes later repairs more discreet and economical.
Inspect the result after one week, one month and the first seasonal change. Respond early to looseness, blistering, colour change, moisture, difficult mechanisms or cleaning problems; small maintenance is easier than delayed major repair.
Match tools to paint type and surface geometry to reduce marks on doors, mouldings, corners and broad flat areas.
Decision table
Application checklist
- ✓Define the need clearly
- ✓Measurement and sample plan
- ✓Materials and tools
- ✓A safe work sequence
- ✓The most common mistake
Most common mistake
The most common mistake is trying to hide marks with a heavy coat or excessive tool pressure. This usually grows from skipped preparation or measurement and can make a small defect far more expensive to correct. When a fault appears, pause the work, document the cause and test the repair on a small area. Removing sound work unnecessarily can be as costly as…
Care note
After completion, use intercoat sanding, clean storage and timely tool replacement. Avoid aggressive cleaners, excess water or heavy use during the early period so that the system can reach its intended performance. Keep the product name, colour code, batch information and installation date. Label a small touch-up quantity and sample piece; this makes later…
Frequently asked questions
What should be decided first for Choosing rollers and brushes for wood painting?+
Choosing rollers and brushes for wood painting cannot be resolved by appearance alone. Begin by separate flat faces, profiles, edges and details into distinct tasks; a product or dimension chosen before the existing condition is understood can create a second problem during installation. This guide sets out to match…
What should be checked before measuring and installation?+
During measurement, compare roller texture and brush levelling on one sample after drying. Record edges, junctions, opening clearances and access points separately rather than relying on one overall dimension. This prevents a solution that fits on paper from narrowing daily circulation. Make a small sample or…
Which criteria matter when choosing materials?+
The core material set is fine-foam or microfibre mini roller, quality synthetic brush and paint filter. Compare products through surface compatibility, curing, cleanability, repair and technical data as well as colour and price. Do not combine primers, adhesives, paints, fillers or protective coats with conflicting…
How should the maintenance plan be organised?+
After completion, use intercoat sanding, clean storage and timely tool replacement. Avoid aggressive cleaners, excess water or heavy use during the early period so that the system can reach its intended performance. Keep the product name, colour code, batch information and installation date. Label a small touch-up…